Fence procurement often focuses on panel height, wire diameter and post section, while the connections appear at the end of the schedule as a bag of accessories. On site, a clamp that does not fit, an unsuitable bolt length or a corner that needs a different bracket can bring an apparently straightforward installation to a halt.
The connection system should be agreed alongside the panels, posts and construction sequence. Checking fixing positions, the installation side and the replacement method before ordering helps transfer panel performance through the connections into the complete fence.
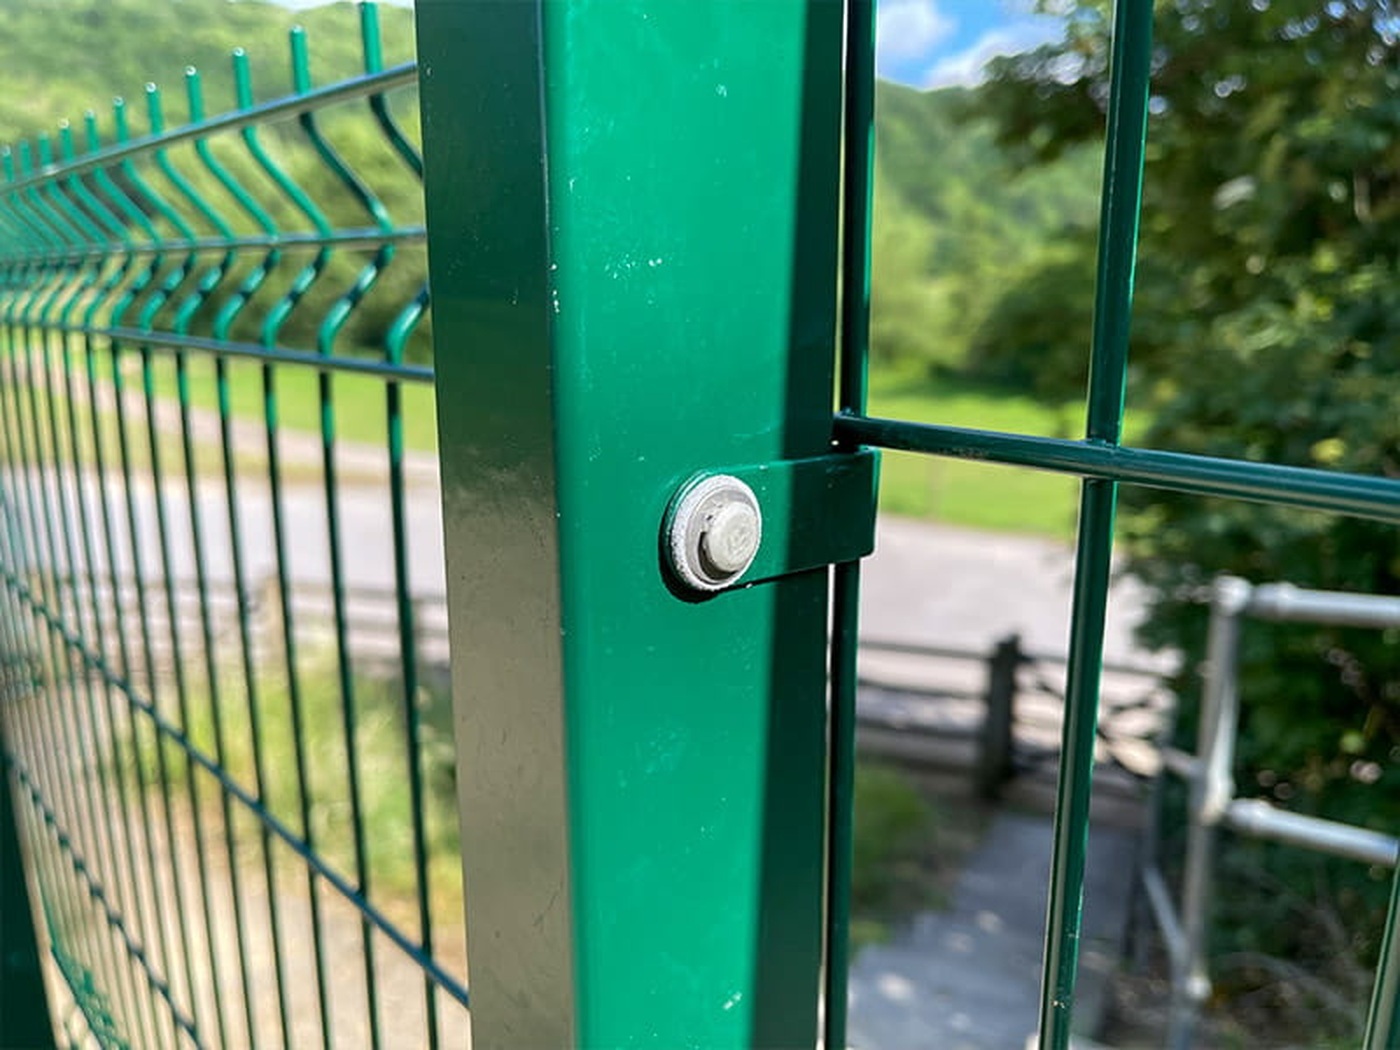
Start with how the connection restrains the panel
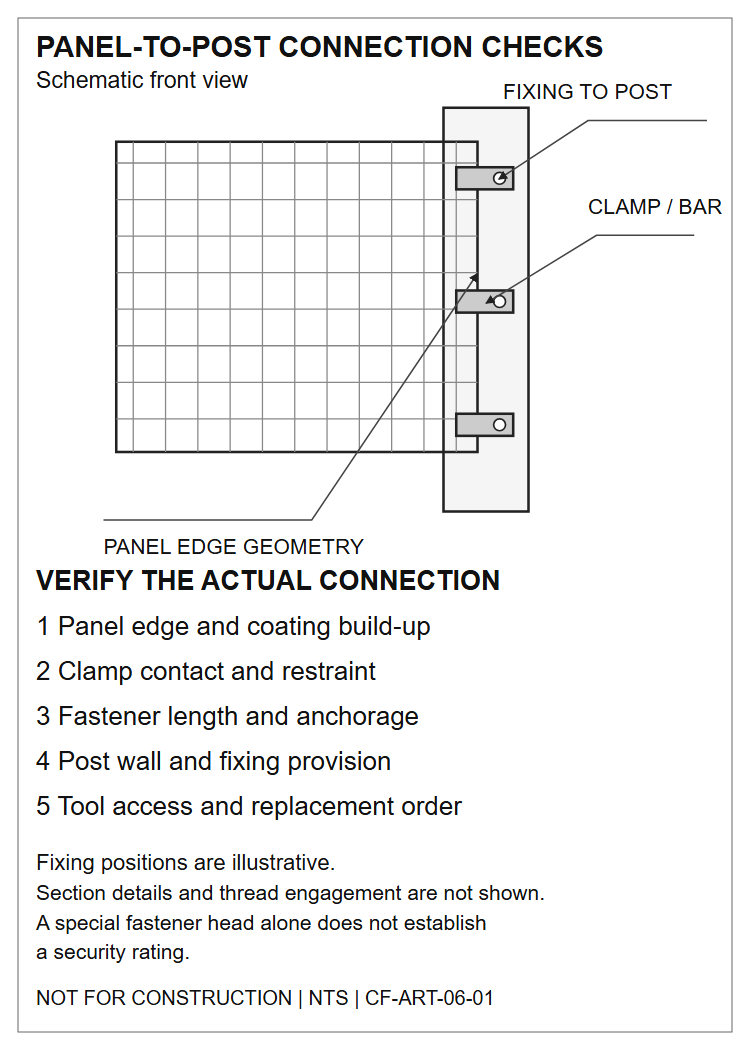
Point clamps hold the panel at individual locations, continuous clamping bars restrain its edge along the post, and brackets or slots may provide positioning and connection functions. These are not standard parts that can be interchanged by appearance: the clamped element, contact surfaces and load path may differ.
When comparing options, examine how the panel edge wire enters the clamp, where the bolt is secured and which component limits panel movement under load. More bolts alone do not prove a more reliable connection, and a decorative cover must not be mistaken for a load-resisting fixing.
Panel thickness and post shape determine compatibility
Twin-wire panels, profiled panels and close-mesh panels differ in edge thickness, local projections and available clamping space. Clamp openings, washers and bracket offsets must match the actual panel rather than being selected solely by fence height.
Square hollow posts, profiled slots and other post sections also affect bolt positions and tool access. Enlarged connection drawings, accessory part numbers and assembly photographs make the supply requirement clearer than a general request for universal clamps.
Balance tamper resistance with installation-side and tool management
Special fastener heads or dedicated tools can change the conditions for removal, but one tamper-resistant bolt does not automatically give the complete fence a security rating. Consider whether nuts remain exposed, whether the panel can be lifted out from the other side and whether covers obstruct inspection or maintenance.
Where the connection arrangement permits, placing accessible fixing parts on the controlled side reduces opportunities for direct operation from outside. Installation, retightening and replacement still require suitable tools. Include the quantity and handover arrangements for any dedicated tools in the supply scope.
Distinguish fixing from adjustment in the connection drawing
Some connections permit positional adjustment during installation, but the fully tightened connection may no longer be free to slide. Slotted holes do not, by themselves, provide movement capacity during service. Confirm the actual movement range from the connection arrangement and its fixed condition.
At slopes, corners and transitions between panel heights, check every fixing position instead of pulling panels into place or enlarging holes to conceal setting-out errors. Follow the product installation documentation for bolt tightening. A single torque value cannot be applied indiscriminately to different materials and fastener sizes.
Plan how one damaged panel will be replaced
A panel may need replacing during the operating life of the fence. Check whether the removal sequence requires adjacent posts to be moved, whether a clamping bar can be removed locally and which new fasteners will be needed. Identify single-use accessories separately from reusable components.
The accessory schedule should identify the model, applicable location, quantity per connection, material or strength grade, thread specification, length and surface treatment, including the matching nuts and washers. Tie spares to specific drawing details to avoid parts that look similar but do not fit, or parts with the right dimensions but unsuitable materials or strength.
Confirm the complete connection schedule with CommandFence
CommandFence can coordinate panels, posts, clamps, clamping bars and fasteners around project drawings. Identifying ordinary runs, gate areas and special corners separately helps check connection quantities and accessory differences before production.
Send CommandFence photographs of existing connections and information about the proposed panels and posts. Establish how the assembly will be installed, from which side and how it will later be replaced before preparing the quotation and packing list. The delivered components can then be matched more easily to site installation.
Explore CommandFence products and project configuration options